
If you’re thinking about creating an online course, starting a membership site, or launching your own YouTube channel, you’ll likely need to set up some sort of a home video recording studio.
To get started, you’ll need the essentials: a camera, lighting sets, and tripod stand. The good news is that you can DIY a high-quality video recording studio complete with professional equipment.
In this article, we’ll cover all of the video recording equipment you’ll need to set up your home studio including a backdrop, lighting, tripods, camera, and audio. We’ll also share some useful tips along the way.
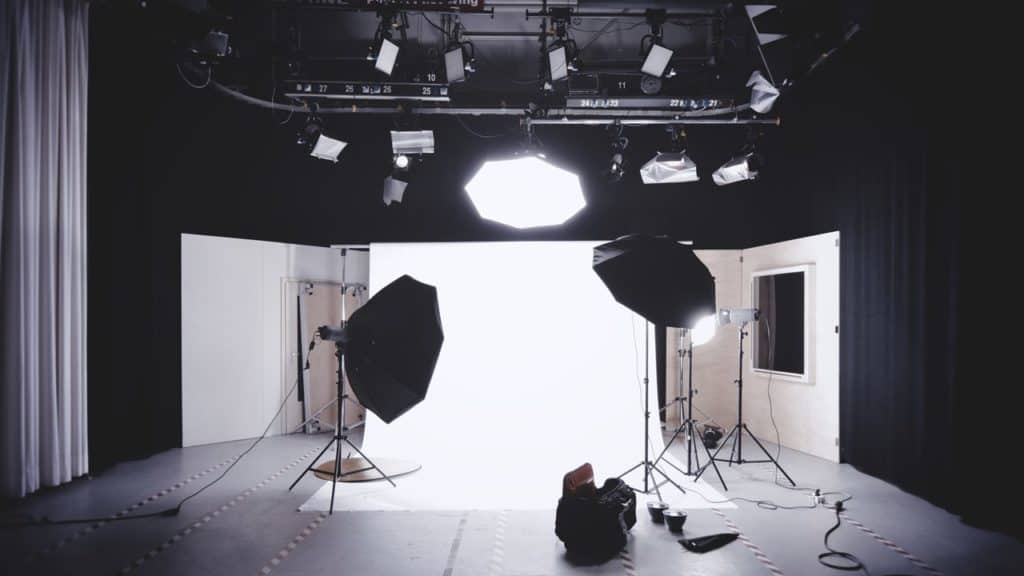
#1: Backdrop
One of the first things you’ll need is a backdrop. For those unfamiliar, a backdrop is the background you’ll shoot your videos in front of.
Most people don’t have access to a camera-ready workplace or home office to shoot their videos in. So, if you’re looking to DIY a home video recording studio, you’ll need to put up a backdrop to give your videos a professional look and feel.
For someone who is just starting out, you need to keep two things in mind when it comes to selecting a backdrop:
- Where will you be recording your videos and how much space do you have?
- What is the theme or ambiance of your recording environment?
With this in mind, you have two options available to you:
For Smaller Spaces: Background System
If you don’t have a lot of space to set up your video recording studio, you should go for a background system. The great thing about a background system is that it’s portable and easy to setup.
It enables users to project a simple, solid-colored background for you to record your videos in front of. You can use a solid white, gray, or black backdrop for best results. Having a simple, solid-colored background also makes it easy to set up lighting as compared to a more decorated studio.
For Open Spaces: Decorated Studio
If you have more space on hand and budget to match, you might consider purchasing inexpensive furniture to set up a decorated home video recording studio. For example, you might purchase a sofa, table, floor lamps, and house plants.
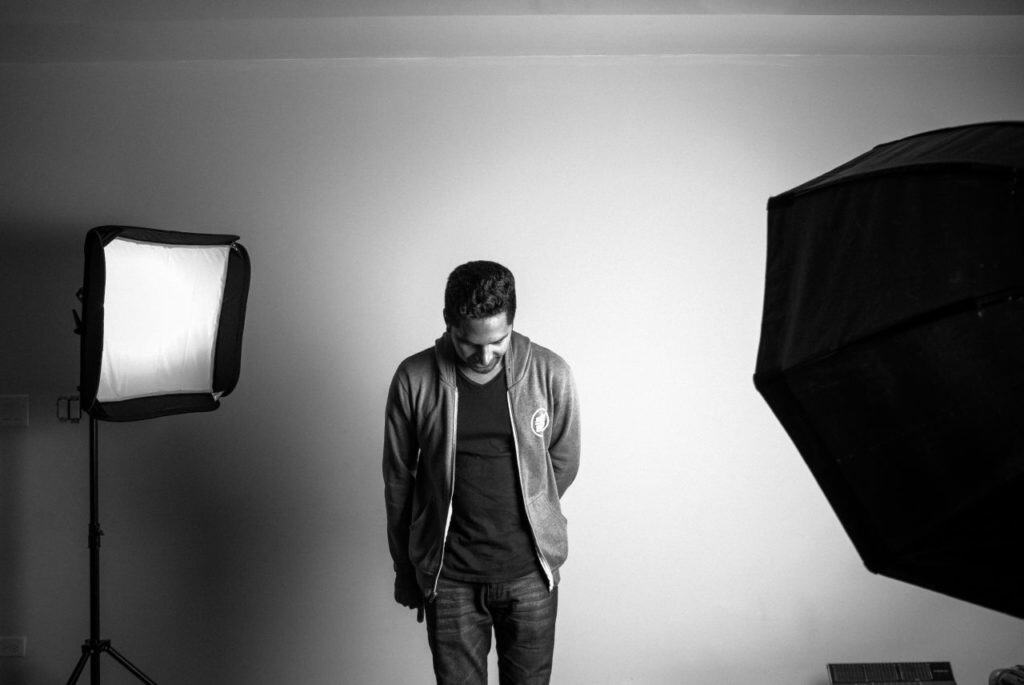
#2: Lighting
When it comes to setting up a home video recording studio, you have to pay close attention to your lighting. We’d also recommend setting aside a budget for your lighting equipment since inexpensive lighting solutions will only give you low-quality results.
Here are the two things you need to keep in mind when evaluating lighting for your home video recording studio:
- Your lighting equipment should be easy to move around..
- Flexible output. It should let you control the amount of light as well as have settings to configure angles, brightness, and color temperature.
Studio Lights and Softboxes
Purchasing studio lights and softboxes is the best option for you if you don’t plan on moving your equipment around frequently. With a softbox, you’ll be able to control the amount of light output which is particularly useful for removing harsh shadows and avoiding glares.
Bi-Color Lights
If you plan on shooting your videos in different places and environments, you should instead go for bi-color lights. These are battery-powered lights that are incredibly easy to move around and adapt to different environments. As a bonus, you can pack them up in a back and take them with you when you travel. With bi-color lights, you’ll also be able to switch between cooler and warmer color temperatures. Keep in mind that cooler color temperatures will give your videos a task-oriented look and feel whereas warm color temperatures would make your environment look comfortable and cozy.
Pro tip: Consider investing in diffusion panels to help you reduce harsh shadows and glares. They’re generally inexpensive and can easily be move around.
#3: Tripods
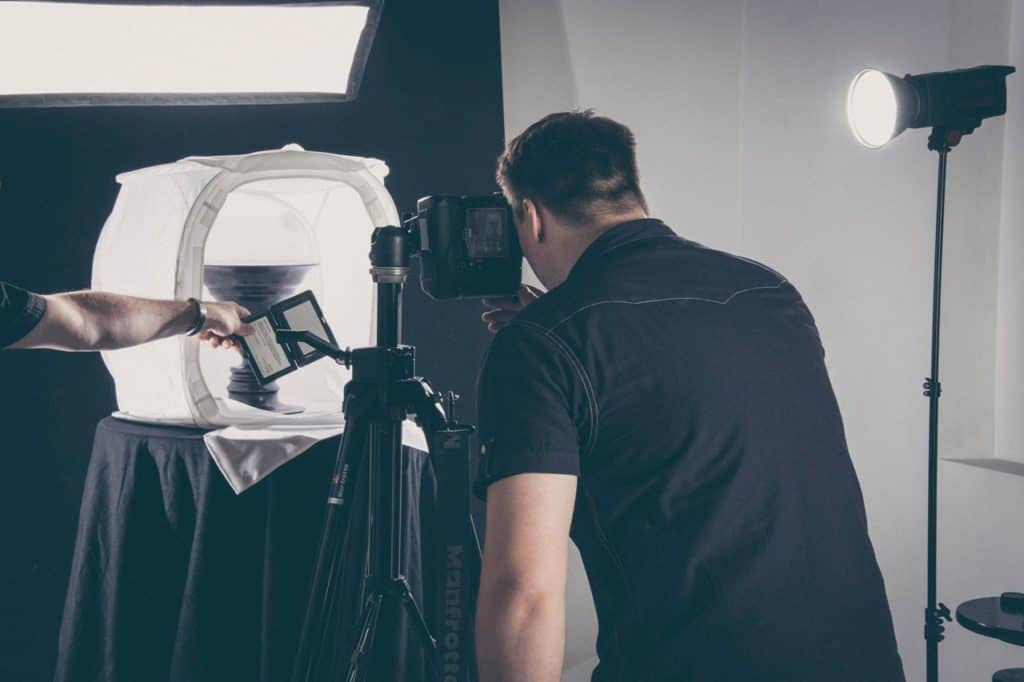
If you won’t be carrying your camera around while shooting videos, you’ll need to get a tripod stand. Tripods are great for a number of reasons. For starters, it’ll help you keep your camera steady and it’s a must-have for taking sharp images. This is especially useful for taking stills for video thumbnails or social media posts that you’ll use to promote your videos.
As with other equipment, the quality (and price tag) of your tripod will determine how your videos turn out. Here are the two factors you need to keep in mind when buying a tripod for your home video recording studio:
- Flexibility of the tripod head. You need to make sure that when you move your camera side to side (tilting) or upward and downward (panning), you get smooth and crisp results.
- Product quality. Since it has many moving and locking parts, you need to buy a tripod that won’t breakdown or get worn out quickly.
Investing in a good tripod stand will save you more money in the long run given that you’ll be using it quite often. Consider opting for a tripod that’s compact and easy to move around. You might need to set it up in a few different locations to get different angle shots.
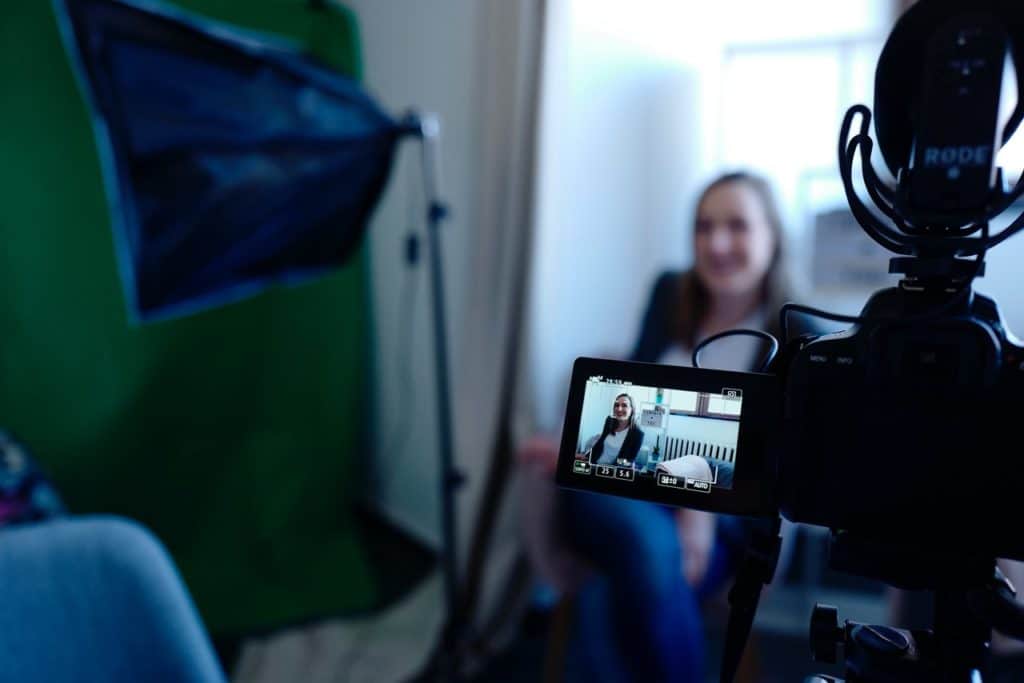
#4: Camera

Since it’s integral to your home video recording studio setup, you need to do sufficient research before purchasing a camera. Keep in mind that while you can get the most expensive lighting set, the steadiest tripod, and the best quality audio equipment, if you have a low-quality camera, your videos won’t look good.
You need a camera that gives you great, crisp image quality and is easy to use. It’s also a good idea to pay attention to the camera’s auto focus features and resolution. Finally, you want to keep your home video recording environment in mind. If you’re working in a low-lit environment, go for a camera that’s designed to improve low-light performance.
Generally speaking, a professional camera will set you back somewhere between $500 to $1,000 – depending on the specific features you’re looking for.
#5: Audio

Audio equipment is the final piece of this puzzle. As an online course instructor, you don’t want your audience to get confused or irritated by your shaky voice or buzzing sounds. For this reason, investing in high-quality audio equipment for your home video recording studio is a must.
If you’re low on budget, consider purchasing audio equipment second-hand instead of looking for the most inexpensive option.
Additionally, consider these two factors before you settle on making a buying decision:
- Acoustics of the environment. If you’ll be using noisy video recording equipment or anticipate background noise in your recording environment, you’ll need to opt for a solution that minimizes that. Similarly, room echo is another problem that’ll need your attention.
- Number of course instructors. If you’re collaborating with other course instructors in your videos, you’ll have to arrange multiple microphones or one studio-grade microphone that’s capable of catching dialogue from multiple subjects.
Pro tip: Don’t use a DSLR camera to record sound as they make static noise that affects the audio. Always use a separate recording device to record audio.
Here are two audio recording equipment options which have an external microphone pack:
Lavalier Microphone
Going for a lavalier microphone is a great option for anyone who’s looking to record videos in a busy environment (such as public places or places with lots of background noise). A lavalier microphone typically consists of a small clip-on lapel microphone. It’s widely used by public speakers and presenters.
The key benefit of using a lavalier microphone is that it allows you to capture your subjects’ dialogue from as close to them as possible. You can clip it onto a t-shirt, blouse, or tie. It’s also great for recording in larger recording environments (such as lecture halls) as it eliminates echo and keeps your audio clean.
If you want to record audio from multiple subjects, you can either use multiple lavalier microphones or go for a shotgun microphone to pick up dialogue from multiple course instructors.
Acoustic Panels
If your recording environment has poor acoustics (i.e. the sound bounces off walls and hard surfaces) installing acoustic panels will help you record high-quality audio for your videos. Acoustic panels are also useful for removing echoes in large rooms.
Conclusion
Though you may already have a powerful smartphone camera on hand, once you experience the difference professional recording equipment brings to the table, you’ll never want to go back.
Keep in mind that you should always go for the best lighting, tripods, and camera equipment possible. Whereas you can save a bit when it comes to the backdrop and audio equipment for your home video recording studio setup.
If you’re serious about creating an online course or starting a membership site then it’s definitely worth the investment. Additionally, it’s important to keep in mind that it’s perfectly okay to use second-hand equipment granted that it’s in good condition. In fact, you’ll be able to save a lot of money!
What sorts of videos are you looking to create in your home video recording studio? Let us know by commenting below.
