
Apple’s iPhone offers the most modern camera hardware of any smartphone available on the market. To make the most of your iPhone’s camera and video recording capabilities, you need to understand its video settings. Once you know each setting and how it affects the final video, you’ll be able to produce high-quality course videos in no time. The best part is that you can do all of this with the built-in iPhone Camera app.
Burst Mode
As an online course instructor, you might need to take photos of fast-moving objects. For example, if you need to teach students how to toss pizza dough or do neat card tricks. While it may seem difficult to take amazing shots of fast-moving subjects, your iPhone’s Burst Mode makes it super easy.
Burst Mode enables you to shoot 10 individual images every second for short bursts allowing you to take dynamic action shots. You can capture multiple photos per second for as long as you continue to hold the shutter button down.
However, you’ll need the Burst Mode only when you want to capture fast-moving objects. So, you probably won’t have to use it to create your online course videos though it might be useful for taking high-quality photos for featured images and social media posts.
To get started, simply activate the Burst Mode by holding the shutter button down. The longer you keep holding down the button, the more images you’ll capture. Once you’ve finished, you can view all of the photos you took in your All Photos album and select the images you want to keep.
Image Stabilization
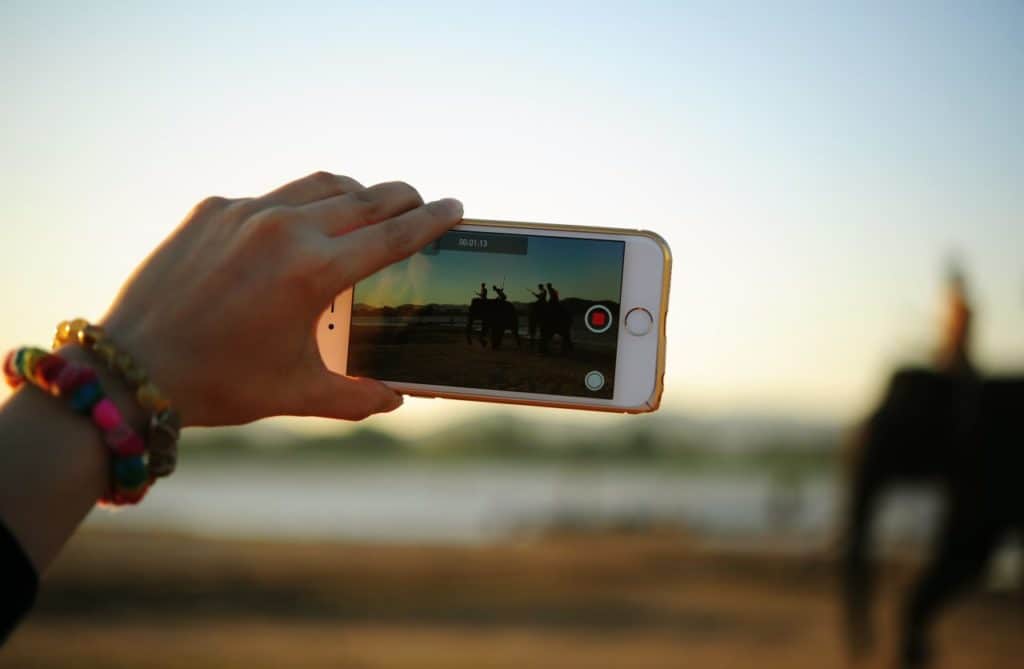
There are two main ways to stabilize your shots: (1) using a tripod stand or (2) the iPhone’s built-in image stabilization feature.
The image stabilization feature can work wonders for your videos and give them a professional touch. That said, the results will depend on several different factors including the resolution you’re shooting at, lighting conditions, and whether you’re taking images or shooting videos.
For example, if you attempt to stabilize a shot while sitting in a speedboat and shooting video in 4K, you’ll likely see some unwanted camera motion in your shots. However, if you were walking across a park and shooting at 1080p, you’d likely get smooth, stable video footage.
It’s important to keep in mind that the iPhone’s image stabilizer is a hardware feature that can only help you remove motion caused by shaky hands while you’re shooting. In other words, it’s not an alternative for a tripod.
Exposure
Exposure deals with how bright the lighting of your shot is. Shots taken in well-lit environments are overexposed and appear to be ‘blown out’, while shots taken in dim environments are underexposed.
Exposure is controlled by an aperture that works the same way as the human eye. It controls how much light can pass through the lens to the camera’s sensor. This lets you enlarge or reduce the aperture of your camera and control how bright or dark your shot turns out to be.
For overexposed shots, you would need to reduce the amount of light that’s being captured by your iPhone’s camera. You can do this either by taking light away from the environment or changing your f-stop (for example from f/11 to f/8). Similarly, for underexposed shots, you would need to add more light to the environment or change the f-stop (for example from f/8 to f/5.6).
Frames per Second
Frames per second (aka FPS) means the number of video frames shot every second. While videos may seem to have completely smooth motion, they’re in fact composed of many individual images that appear to be moving when you play them in sequence.
You can adjust your video’s frame rate by navigating to your iPhone’s camera settings and pressing the Record Video menu button.
Keep in mind that if you shoot videos at 60 FPS and 4K resolution, you’ll have to use the H.265 codec to compress your video. This way, you’ll get a smooth video running at 60 FPS though the file size will be very large. Alternatively, if you shoot longer course videos, you can go for NTSC video instead which means recording at a frame rate of 24 FPS to keep file sizes as small as possible.
Grid Lines
You’ll find the grid line overlays in almost every digital camera. They’re there to help you take better framed, visually appealing shots. Grid lines can also be used to level the horizon in your landscape shots to ensure that you get straight vertical lines and to fulfill the Rule of Thirds which is important for shooting professional-quality online course videos.
They’re also useful if you want to leave plenty of room for a picture-in-picture overlay which is great for tutorial-style video content. Here’s how you can use grid lines on the iPhone:
- Open Settings from your iPhone’s home screen then scroll down and tap Photos & Camera.
- In this menu, scroll down about midway until you reach a toggle switch that says Grid. Tap this to turn on your iPhone’s grid lines.
If you’re creating videos for your online course, you might need to shoot some scenes where you (or the instructor) will be in the center of the frame. To achieve this, frame your shot while making sure that the center-most grid lines nicely frames the course instructor.
And, if you want to use video overlays within your course videos, make sure that there is plenty of room to the right or left of the course instructor.
Bonus: Should You Use a Tripod?
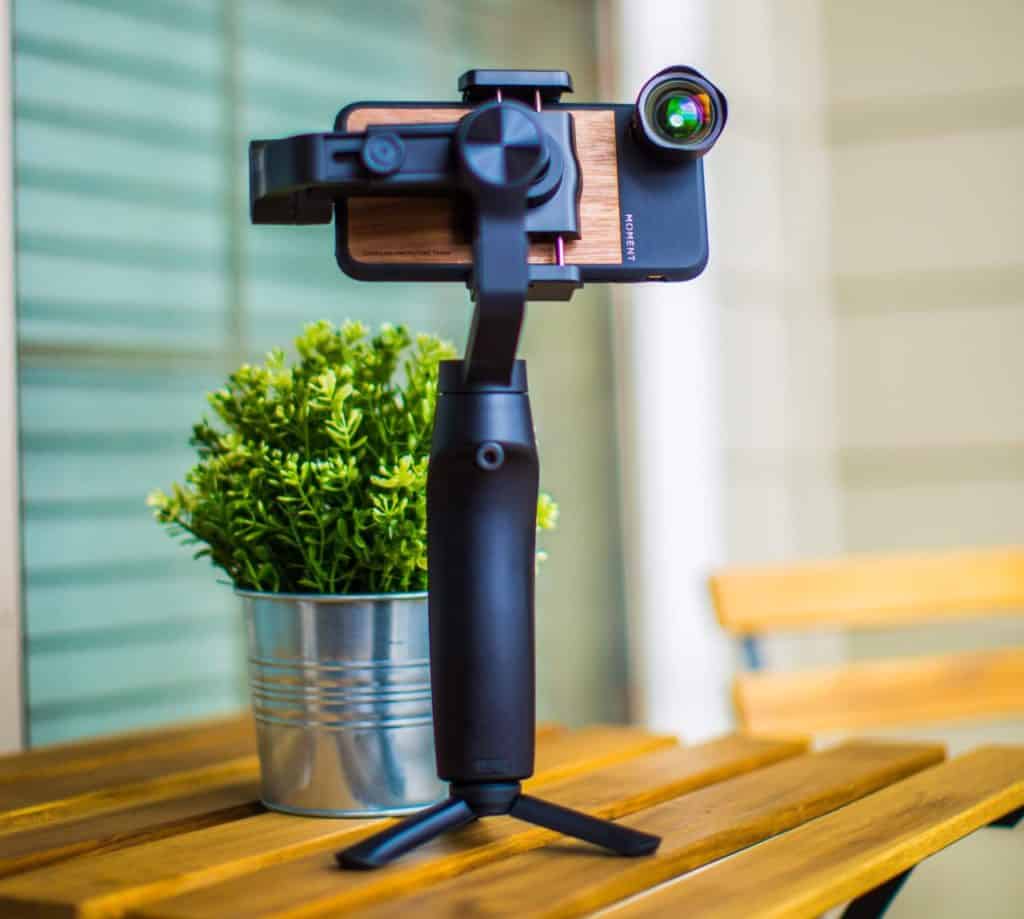
The short answer is: yes! Tripods are a must-have and should be used in almost every situation – especially when recording online courses content.
One of the key benefits of using a tripod is that you can easily set everything up all by yourself and record your course video. This way, you won’t have to hire a cameraman to help you record your online course videos.
All you have to do is adjust the lighting, exposure, and contrast elements in your shot so that they’re as close to the final result as possible. Once that’s done, simply begin recording your course video.
Bonus: Shooting in Poor Lighting Conditions
As we mentioned above, few things can mess up your shots more than overexposure or underexposure to light. Exposure problems are one of the main issues you’re likely to run into which is why it’s important to understand how you can properly shoot photos in different lighting conditions.
Although you can automatically set your iPhone’s camera exposure settings, it also lets you adjust them manually. Start by framing your shot then tapping on the subject of your photo. Your shot will be focused on that point (or object).
You’ll also notice a sun icon appear to the right side of the focus point. Tap this icon to adjust your exposure settings. You can move it up and down to increase or decrease your camera’s f-stops (i.e. the individual steps in your camera’s aperture).
Bonus: Selecting a Microphone
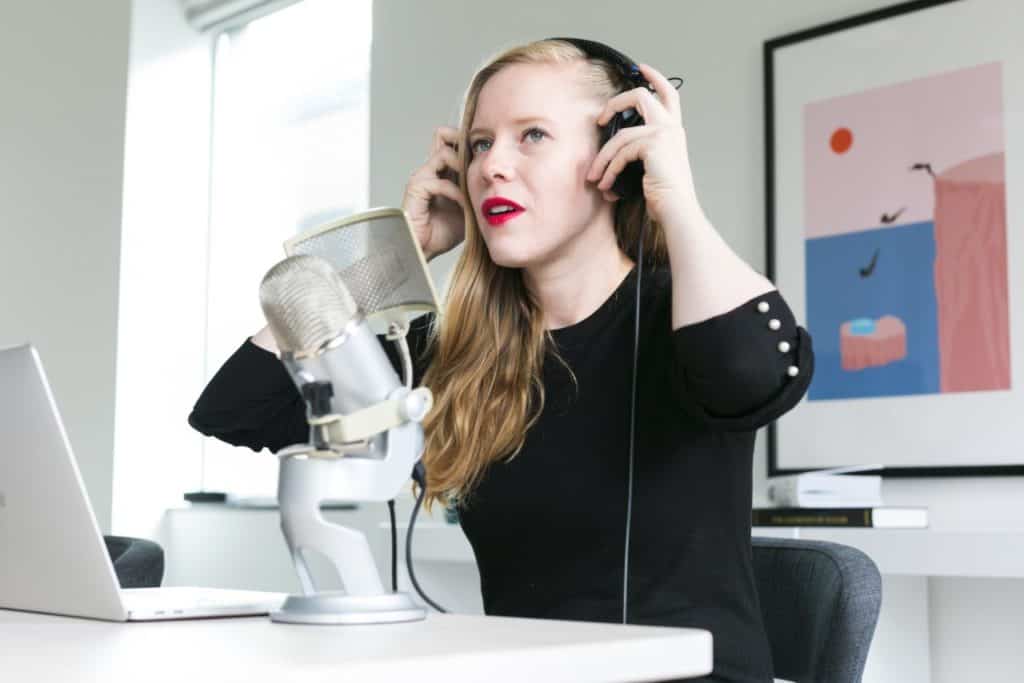
The iPhone’s built-in microphone doesn’t give you great audio quality especially if you have to shoot your videos in a noisy environment or want to record specific sounds.
You can either go for a lavalier microphone or a shotgun microphone to achieve good, directional sound.
Lavalier microphones are used by TV channels to record shows and interviews. It’s omnidirectional and you can attach it to your shirt’s collar and run the wire around your shirt.
A shotgun microphone, on the other hand, gives you more natural audio sounds. It’s a directional microphone so you’ll be able to pick up sound wherever you point the shotgun mic. Shotgun mics allow you to block sounds from the sides which makes it a great tool for canceling harsh sounds, like the wind in an outdoor environment.
Conclusion
We explained how you can get the most out of your iPhone’s camera and the settings and features you need to be familiar with to shoot professional-quality online course videos. By following the actionable tips we shared, you’ll be well on your way to recording your own course videos in no time.
Once you’ve gotten the hang of it and have a few course videos on hand, you’ll need a way to share them with students. Be sure to check out our article on the Best Video Hosting Sites for Course Creators for our top picks.
Which of the iPhone’s camera settings and features are most useful to you? Do you have any tips you’d like to share? Let us know by commenting below.
